Fireplace Transformation: MantleMount 815 & Samsung Frame TV Pro
Installing a TV above a fireplace usually involves a trade-off between viewing height and room aesthetics. For this project, we combined the MantleMount 815 with the RB100 Recessed Box and the 65-inch Samsung Frame TV Pro (LS03FWD) to give the client a setup that looks like art but functions like a high-end home theater.
The Problem with OLEDs on Pull-Down Mounts
Initially, the client wanted to use a 65-inch LG OLED. While it’s a top-tier screen, it’s a poor match for this type of mount. Because the mounting holes on an LG OLED are located so low on the back of the panel, the MantleMount hardware actually sticks out past the bottom of the TV.
Beyond that, the mechanism would have been visible from the side by over 5 inches. To avoid seeing the “guts” of the mount, the client upgraded to the 65-inch Samsung Frame TV Pro. Pairing this with the RB100 Recessed Box allowed the TV to sit just 1.8 inches from the wall—hiding the hardware completely.
Site Inspection and Prep
The RB100 box requires a specific stud layout: no studs can be within 4 inches of the fireplace centerline on either side. Our technician confirmed the framing was compatible before we started cutting.
The Frame TV Pro also made the wiring much simpler. Its One Connect Box is wireless and sits in a nearby cabinet, so we didn’t need to install a 17 inch Legrand media box behind the TV—just a standard power outlet.
The Installation
1. Finding the Center
We pre-assembled the mount and installed the TV brackets first to find the exact placement for the wall cutout. We set the vertical braces 7.5 inches from the bottom of the TV. To keep the look as clean as possible, we left off the brace extenders and heat sensors.
2. Calculating the Height
The client wanted the TV to sit 9 inches above the mantle. Based on our measurements, that meant the wall cutout had to be placed 12 inches above the mantle.
3. Setting the Box
We cut the opening and moved the existing power and low-voltage lines to the left of the RB100. We secured the box to the studs using horizontal brackets, using spacers to ensure the brackets sat flush against the drywall.
4. Hanging the Mount
The MM815 mechanism was secured into the box with four screws. To get the top two screws in, you have to plug the mount in and power it down slightly to clear the frame.
5. Leveling and Stops
After the TV was on the arm, we adjusted the level in the “down” position and verified it stayed perfect when raised. Finally, we set the swivel stops to make sure the TV can’t swing into the mantle during use.
Pro-Tips for Future Jobs
• Dedicated Power Housing: I’d recommend installing a 9-inch Legrand media box right next to the RB100. This would hide the outlet entirely for a “zero-cable” look.
• Internal Framing: Instead of using the horizontal metal brackets, building wood framing around the box inside the wall is a cleaner way to secure the unit and saves time on the finish work.
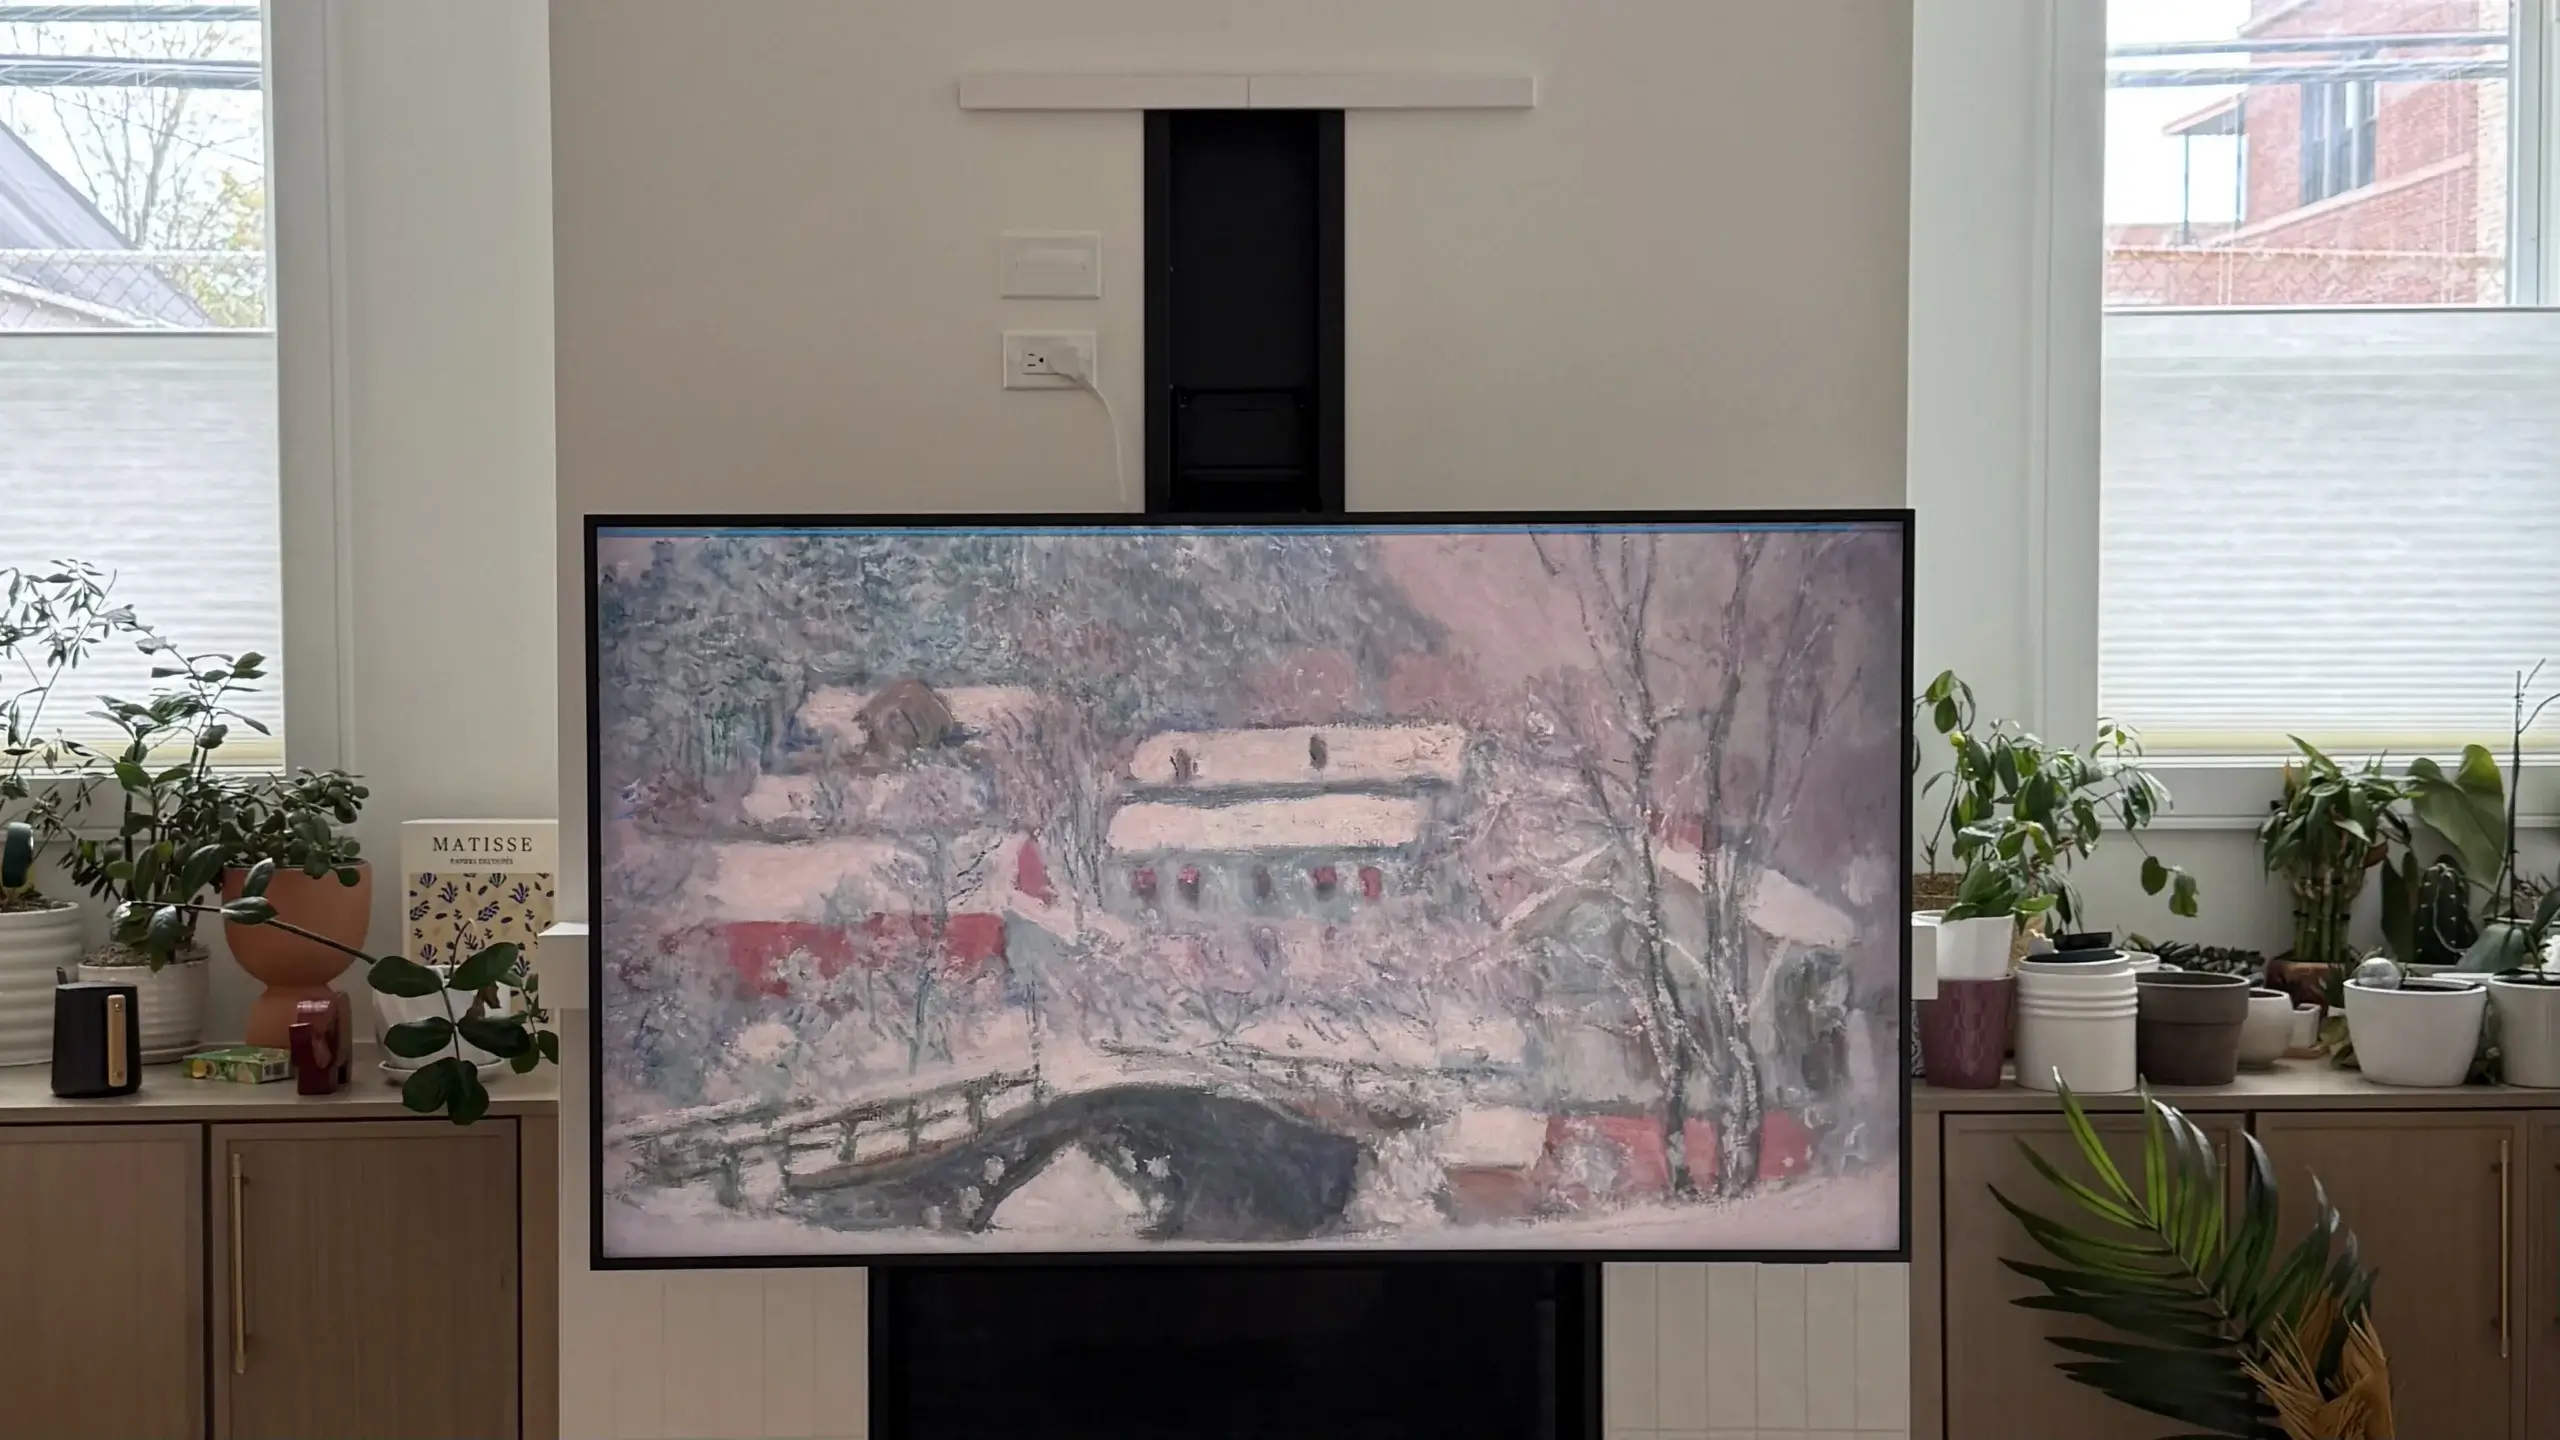
The Result: When the TV is up, it looks like a framed photo sitting nearly flush with the wall. When it’s lowered, it’s at the perfect height for a movie night without the neck strain.